
Navigating Gaidge Forms
Gaidge Forms menu has seven items: Forms Manager, Client Forms, Templates, Preferences, Analytics, Audit Trail and Clients.
The Forms Manager is your dashboard. The buttons along the top of the screen let you send forms and jump to all sent and received client forms or your form templates. The latest forms received and pending forms display below.

Client Forms holds all forms sent and received from patients. The Status column shows if the form has been completed. You can view both completed and pending forms by clicking on the View button - this can be very helpful as sometimes forms are completed, but not submitted.

Templates is the home of questionnaires and consent forms. This is where you add and edit your forms. See related articles below for steps to add and create forms.

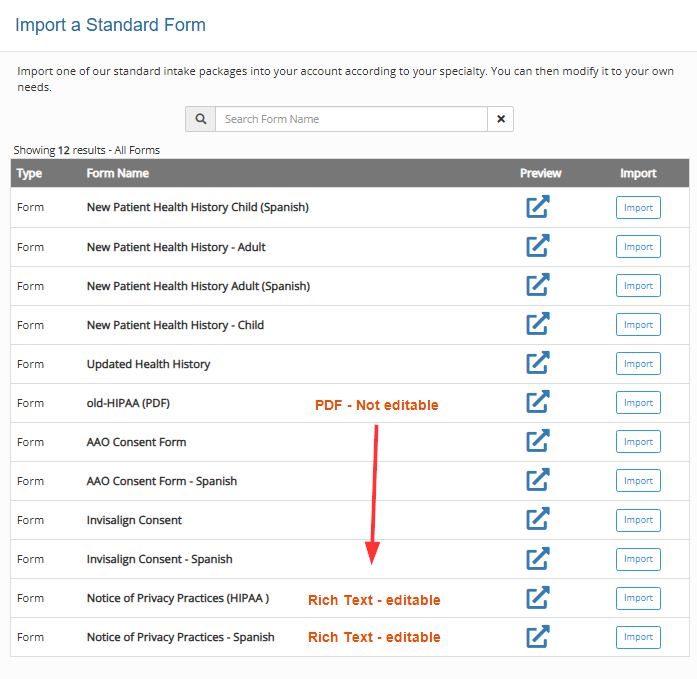
Standard Templates
Should you need to add or replace the standard forms on your system

Analytics Here you can view carts and graphs about your various forms including completion rate and data on how specific questions were answered.

Select your date range at the upper right

Audit Trail, available to administrator practitioners only allows you to view all actions taken in forms, including sign ins, forms sent, templates updated, etc.

Clients View all patients who have been added,

Click on a patient's name or ID to open their information screen where you can update patient information and send additional forms, if desired.

Preferences
Before adding forms and sending them to your patients, let's start by getting your preferences setup.
From the main Forms menu, select Preferences.
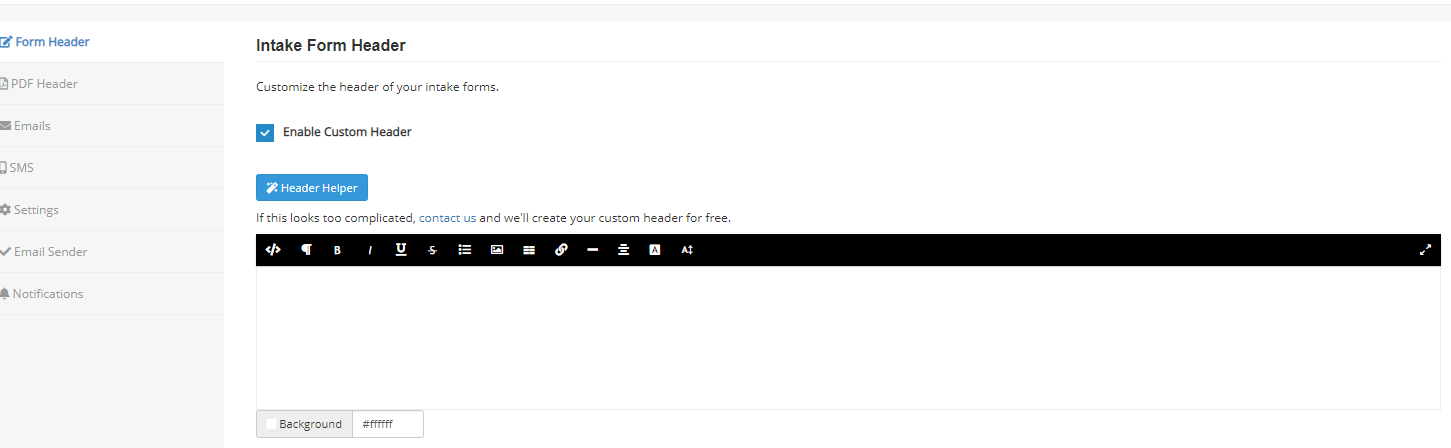
 Form Header
 Form Header
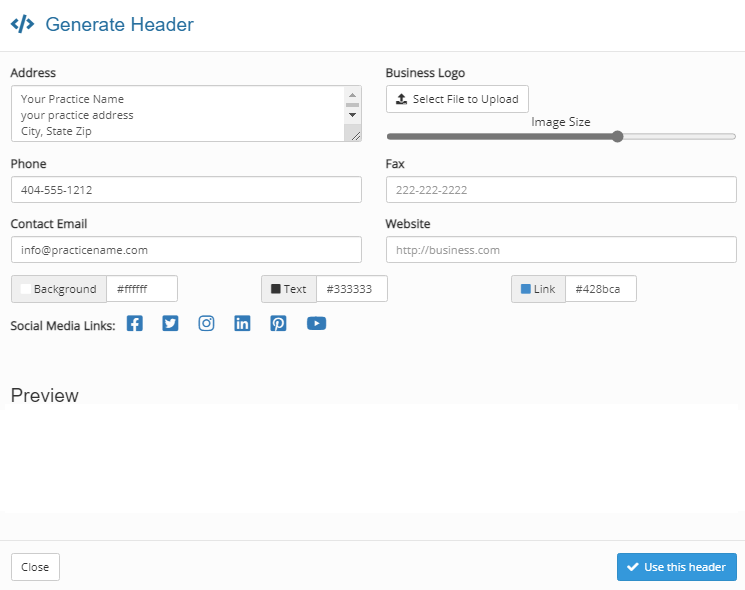
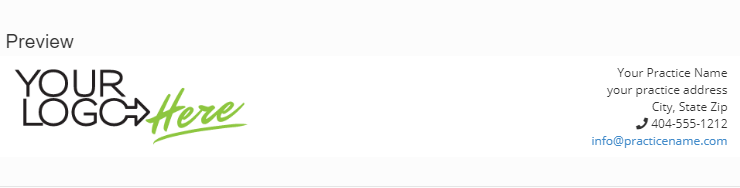
It's easy to create your own custom form header without knowing anything about HTML. To customize the header on your forms, click on the checkbox Enable Custom header then click on the button titled Header Helper.
PDF Header
You can use the default header, your Web header or a different custom header on PDF forms. Most practices use their Web Header:

Emails
This is generally your first communication with patients after the initial phone call. Be sure to make a good impression!
The format bar has various options for text effects, adding images and links plus adding fields like patient name, practitioner name and special instructions. Please note: do not delete the link and instructions at the end of the email - this is how the patient connects to your form and any instructions you entered when sending.


SMS
Customize your text messages when sending forms and from reminders. You can also set the time period for when to send reminders.
 Please note: do not change the intake link or your patients will not get a link to your forms.
Settings
Under settings, you can change the font and/or allow page breaks within questions on PDFs to save paper. Other settings include signature style, login requirements, date types, etc.

Email Sender
The email sender lets you set the from address on your outgoing emails

Notifications
Setup which notifications you wish to receive:
